
 Johannes Dienst
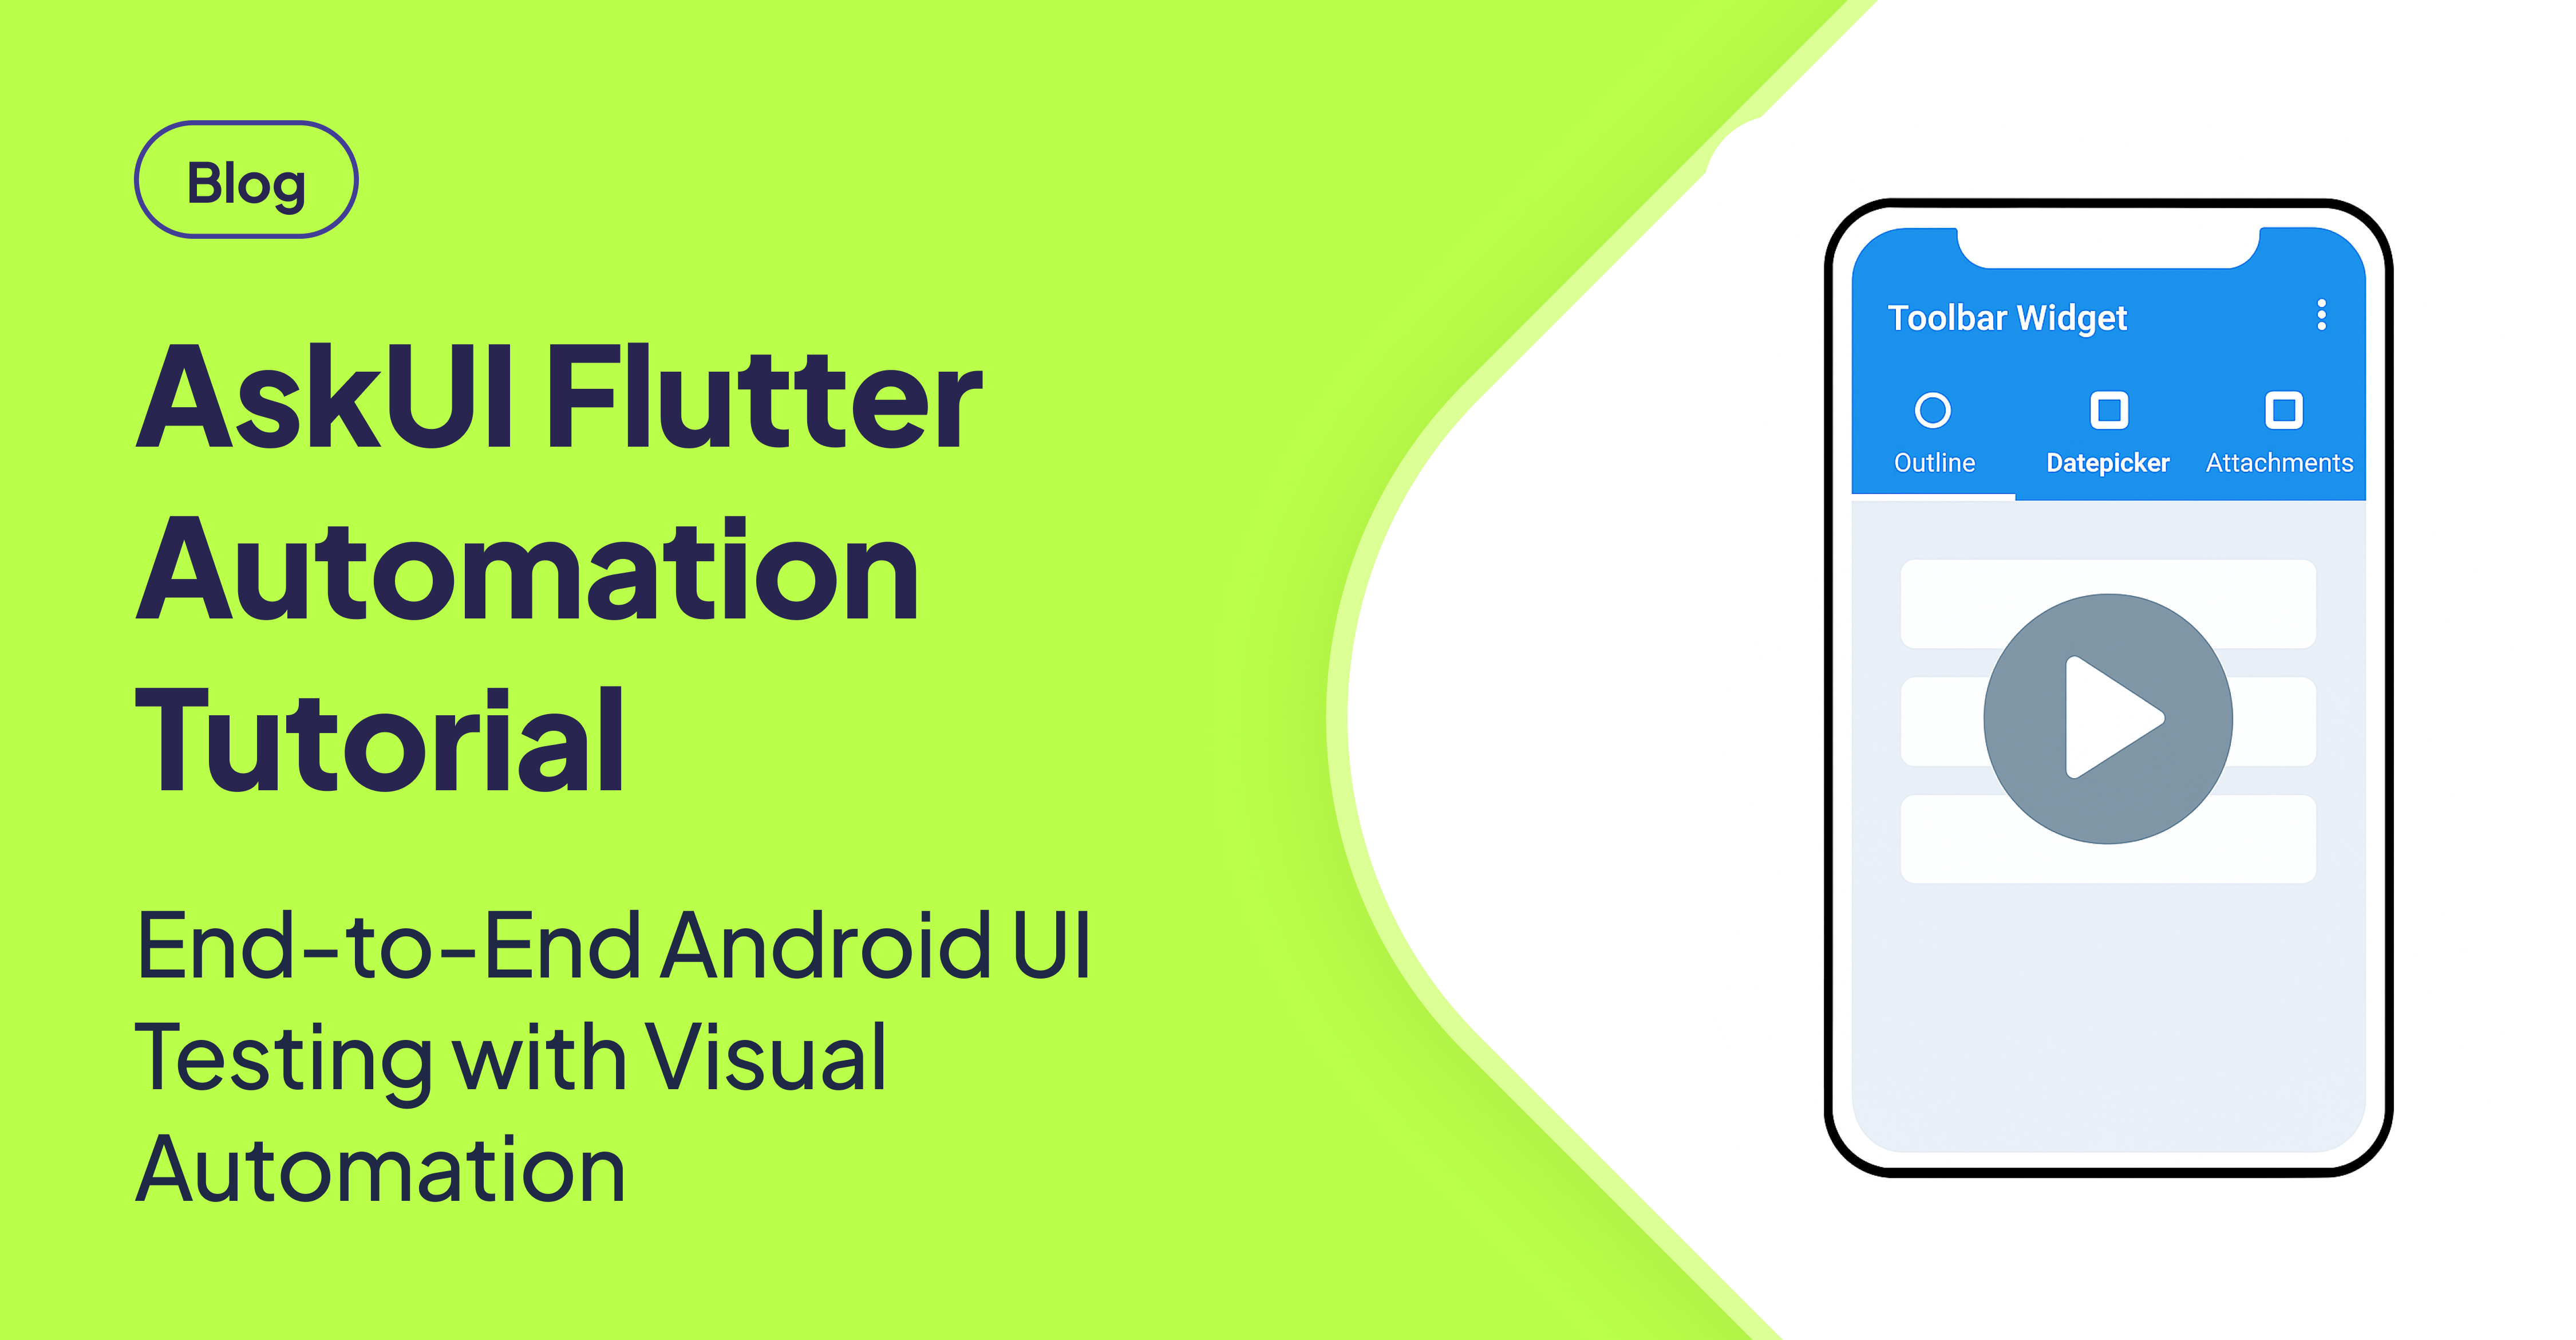
TLDR
This guide demonstrates how to automate a Flutter Android application using AskUI. It includes detailed instructions for setting up the Flutter app, installing and configuring ADBKeyboard, and integrating AskUI. The provided test script automates interactions with various UI elements across different tabs, showcasing AskUI's visual automation capabilities.
Introduction
This tutorial provides a comprehensive guide to automating a Flutter-built Android application using AskUI. It includes source code, setup instructions, and test examples to help you automate your Flutter app effectively. This guide assumes you have an Android device or emulator already configured.
Setting Up Your Flutter Automation Environment
Cloning and Configuring the Flutter Demo App
-
Clone the Repository: Start by cloning the sample Flutter app repository. This will provide the application you will be automating.
git clone https://github.com/askui/flutter-example-automation.git cd flutter-example-automation -
Install Dependencies: Next, fetch all necessary dependencies for the Flutter app.
flutter pub get -
Update
minSdkVersion: Ensure compatibility by updating theminSdkVersioninandroid/app/build.gradleto 21. This setting ensures your app is compatible with the automation tools. -
Run the App: Launch the app on your Android emulator or device to ensure it's running correctly.
flutter run
Installing and Configuring ADBKeyboard
ADBKeyboard is crucial for providing reliable text input during automation.
-
Download ADBKeyboard: Obtain the latest version of ADBKeyboard from GitHub Releases.
-
Install ADBKeyboard: Install the downloaded APK file onto your Android device or emulator.
adb install -r ADBKeyboard.apk -
Configure ADBKeyboard: Set ADBKeyboard as the default input method.
adb shell settings put secure default_input_method com.android.adbkeyboard/.AdbIME -
Enable ADBKeyboard: Enable the input method.
adb shell ime enable com.android.adbkeyboard/.AdbIME -
Verify Installation: Confirm that ADBKeyboard is active when you click on a text field within the app.
Setting Up AskUI for Visual Automation
-
Install AskUI: Follow the official AskUI installation guide to install the necessary AskUI packages.
-
Run UiController Manually: Start the UiController in Android runtime mode.
npx askui -
Disable UiController in Jest Setup: To prevent conflicts with the manual instance, disable the UiController code inside
test/helper/jest.setup.ts.
Building Your AskUI Test Script
Automating Interactions: Outline Tab
This section demonstrates how to automate basic form filling using AskUI.
await aui.click().textfield().withText('Name').exec();
await aui.type('John Doe').exec();
await aui.click().textfield().withText('Email').exec();
await aui.type('john@example.com').exec();
Handling Date Selection and Checkboxes: Datepicker Tab
This section shows how to interact with date pickers, checkboxes, and switches.
await aui.click().text().withText('Datepicker').exec();
await aui.click().textfield().withText('Title').exec();
await aui.type('Summer Vacation').exec();
await aui.click().text().withText('Departure Date').exec();
await aui.click().text().withText('15').exec();
await aui.click().button().withText('OK').exec();
await aui.click().text().withText('Return Date').exec();
await aui.click().text().withText('30').exec();
await aui.click().button().withText('OK').exec();

await aui.click().checkbox().withText('I agree to terms').exec();
await aui.click().switch().withText('Enable notifications').exec();
Interacting with the Camera: Camera Tab
This section demonstrates how to automate interactions with the camera functionality.
await aui.click().text().withText('Camera').exec();
await aui.click().button().withText('Take Picture').exec();
Complete AskUI Test Code Example
Here's the complete test script integrating all steps:
import { aui } from './helper/jest.setup';

describe('Flutter App Automation', () => {
  it('should complete full workflow', async () => {
    // 1. Outline Tab - Fill form
    await aui.click().textfield().withText('Name').exec();
    await aui.type('John Doe').exec();
    await aui.click().textfield().withText('Email').exec();
    await aui.type('john@example.com').exec();

    // 2. Datepicker Tab - Fill dates
    await aui.click().text().withText('Datepicker').exec();
    await aui.click().textfield().withText('Title').exec();
    await aui.type('Summer Vacation').exec();
    await aui.click().text().withText('Departure Date').exec();
    await aui.click().text().withText('15').exec();
    await aui.click().button().withText('OK').exec();
    await aui.click().text().withText('Return Date').exec();
    await aui.click().text().withText('30').exec();
    await aui.click().button().withText('OK').exec();

    // 3. Camera Tab - Take picture
    await aui.click().text().withText('Camera').exec();
    await aui.click().button().withText('Take Picture').exec();
  });
});
Conclusion
By following this tutorial, you can effectively automate Flutter mobile apps using AskUI. While this guide uses a Flutter app as an example, the underlying principles and techniques are applicable to any Android app. AskUI's visual automation offers a stable, adaptive, and AI-powered approach to mobile UI automation, minimizing common issues related to traditional selector-based methods. Join the AskUI Community for support, to share your experiences, and to learn from other automation enthusiasts.
FAQ
How do I handle dynamic content in my Flutter app with AskUI?
AskUI's visual AI identifies elements based on their appearance, making it resilient to minor changes. Use descriptive text matching with the .withText() method when possible, as this anchors the element identification. For elements that change frequently, consider using relative positioning (e.g., "click the button below the text 'X'").
What are the benefits of using ADBKeyboard over the default Android keyboard?
ADBKeyboard offers greater control and reliability for automated text input. It bypasses many of the issues associated with the default Android keyboard, such as unpredictable pop-ups, autocorrect interference, and layout variations across devices.
How do I troubleshoot issues with AskUI failing to identify UI elements?
- Verify UiController: Ensure the UiController is running correctly and connected to your device or emulator.
- Adjust Assertiveness: Experiment with different assertiveness levels in your AskUI code to fine-tune element recognition.
- Check Screenshots: Review the screenshots taken by AskUI to understand what the AI "sees" and adjust your targeting accordingly.
- Use Descriptive Text: When possible, use
.withText()to identify elements, as this significantly improves accuracy.
Can I use AskUI to automate native Android apps as well?
Yes, AskUI is not limited to Flutter apps. It can automate any Android application, regardless of the underlying technology used to build it. The visual AI approach allows it to interact with the UI at a fundamental level.
How does AskUI handle asynchronous operations and loading states in Flutter apps?
Implement explicit waits using aui.wait(milliseconds) or aui.wait(until()) to ensure that UI elements are fully loaded and interactive before attempting to interact with them. Using waitUntil() you can wait for a specific element to appear.