
 YouYoung Seo
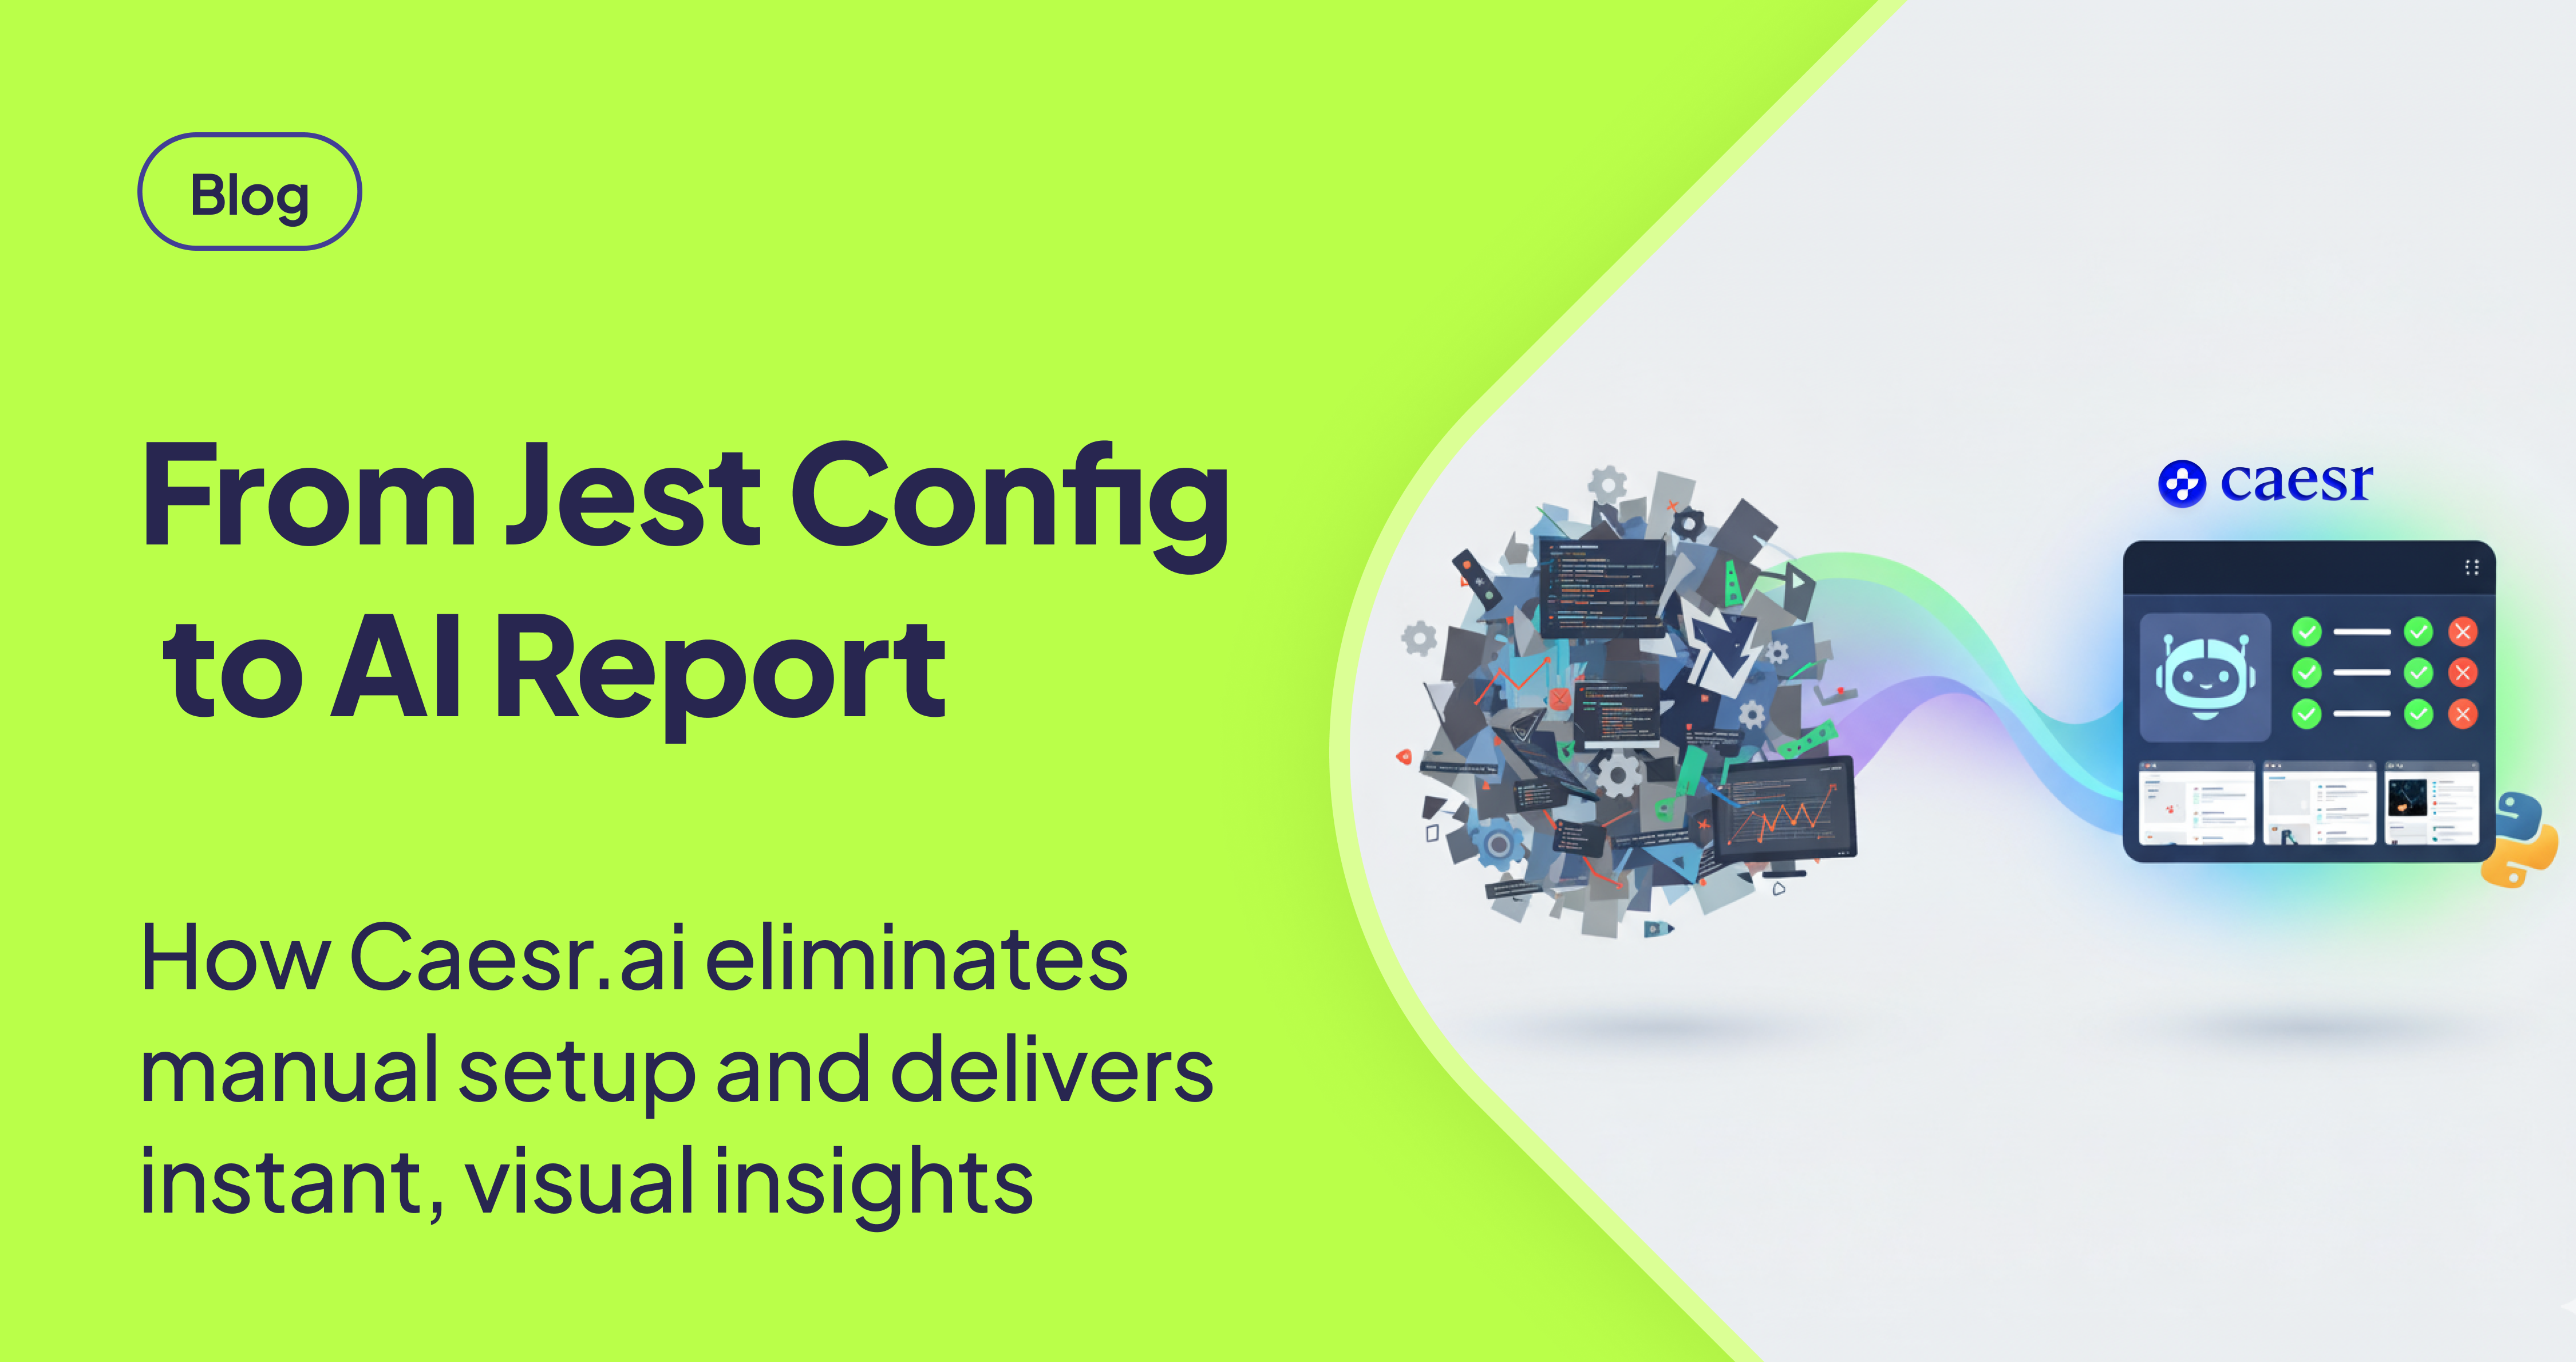
TLDR
In 2026, the standard for enterprise automation has shifted from shifting from brittle selector-based E2E scripts and manual glue code to Agentic AI. By integrating the AskUI Python SDK with Computer Use Agents, engineering teams are effectively eliminating the technical debt associated with brittle selectors and manual reporting. This guide shows why an intent-based, agentic automation is increasingly becoming foundational for enterprise QA.
Who is this for?
This shift is especially critical for teams operating in:
- Enterprise QA & Release Engineering : Ensuring consistency across massive software ecosystems.
- Automotive HMI & Systems in Safety-Critical Domain: Where visual precision and cross-device interaction are non-negotiable.
- Regulated Industries: Environments requiring audit-ready execution evidence and detailed logs.
1. The Legacy Burden: Why Automation Scope Is Evolving
For experienced engineers, the friction of legacy is all too familiar. While Jest remains an industry standard for unit testing, the requirements for modern end-to-end (E2E) UI automation have outgrown its original design assumptions:
- The Maintenance Loop: Hard-coded XPaths and CSS selectors break during UI updates, leading to a maintenance trap that can consume significant engineering time.
- Infrastructure Overhead: Managing fragmented dependencies for reporting often leads to complex configuration debt.
- Timing Instability: Asynchronous mismatches between script execution and real-time UI rendering frequently result flaky tests that erode team trust.
2. How Agentic AI & Computer Use Works
AskUI extends the automation stack by deploying a Computer Use Agent that understands and interacts with the screen in a human-like, interacts with what’s rendered on screen in a human-like, perception-driven manner.
- Perception-Based Interaction: The agent interacts with UI elements based on visual recognition, making tests far less sensitive to underlying DOM or code changes.
- Intent-Based Execution (
agent.act): Instead of hard-coding every click, you define a goal. The agent plans and executes the necessary steps autonomously. - Optimized for Modern Python: The SDK integrates seamlessly with the modern Python-based agentic automation ecosystem.
3. Enterprise-Ready Agentic Infrastructure
For Engineering Leaders, AskUI is not a tool, but infrastructure built for high-stakes enterprise environments.
- Universal Platform Support: Automate applications across Windows, macOS, and Linux, extend automation to mobile and embedded environments.
- Audit-Ready Execution Artifacts: Every agent action is captured as a first-class event, including step-level logs, screenshots, and execution outcomes, ready for CI/CD and compliance workflows.
- Determinism & Safety by Design: By decoupling reasoning from execution, AskUI allows enterprise to enforce guardrails, permissions, and execution constraints at the OS level, preventing unauthorized action by design.
- Security & Deployment Flexibility: AskUI meets enterprise security requirements with ISO 27001 certification and fully supports on-premise deployment models.
4. Technical Verification & Quick start
We prioritize transparency and technical rigor. The AskUI infrastructure is engineered for the high-performance demands of modern development.
Implementation Example (Python-based Agent Execution)
from askui import VisionAgent

# 1. Initialize the Agent
with VisionAgent() as agent:
    # 2. Agentic goal setting: define intent, not individual steps
    agent.act("Open Safari and navigate to docs.askui.com")

    # 3. Context-aware information extraction from the UI
    content = agent.get("What is the primary benefit mentioned in the first paragraph?")

print(f"AI-generated insight: {content[:100]}...")Final Takeaway
The era of manual reporter configuration and fragile XPaths is shifting toward a more autonomous future. Agentic AI transforms UI interaction into a robust, integrated function of your deployment lifecycle.
Jest didn’t fail, the scope of automation simply evolved beyond what script-based frameworks were designed for. It’s time to stop “fixing tests” and start “shipping features” with AskUI Agentic AI.